There are a lot of contracts on WAX that has some sort of claim action, or action that is repeated, that may be the wax staking rewards or one of the many games. In this article, I will go through the most simple way to automate this in a safe and secure way. There are better ways to do it, if you are skilled in e.g. bash, nodejs or python. If you plan to do a lot of actions, or use a lot of accounts, you need to build in tests for API's, and also spread out load. You don't want to spam the nodes with failing requests, firstly because it's fkin spam, second, you will get banned from their APIs.
What you need for this:
1) Machine with e.g. Ubuntu - Installation guide
2) Self managed WAX account (Not Cloud Wallet)
You can use any old PC for this, as long as it can run Ubuntu 18.04 or later. The rest of this guide require you to have the above ready. We will use bash and then cronjob to execute the scripts on the chosen intervall.
Install WAX
wax sw/eden is hosting an apt repo for you to easily install WAX on your machine. What we really want is CLEOS and KEOSD, which is the terminal wallet interface for eosio. This will allow us to easily interact with the blockchain, sign and push transactions. For more specific help and versions.
$
$
$
sudo apt-get install software-properties-common
curl https://apt.waxsweden.org/key 2> /dev/null | sudo apt-key add -
sudo apt-add-repository -y 'deb [arch=amd64] https://apt.waxsweden.org/wax bionic stable'
$
$
sudo apt-get update
sudo apt-get install wax
Set up Custom Permissions
Custom Permissions means that you assign a new keypair to your account that is only allowed to do the actions you approve. This is a highly secure way to automate anything, or add specific key(s) for games into your active devices such as PC, mobile etc. There are a few actions you should avoid here, being anything that can transfer away value from your account or change keys.
Example on bad actions to avoid in most cases:
- eosio:transfer
- eosio:delegatebw
- eosio:updateauth
- eosio:linkauth
- atomicassets:transfer
- and more similar ones.
To do this, you can follow an older course on waxsweden.org
https://waxsweden.org/course/adding-custom-permission-using-bloks/
The TLDR for doing this is:
We want to automate voting for producers and claiming our daily WAX rewards. For this we need to set up a custom permission key, and then update the auth for that permission to allow it to perform the actions we need.
1
1a
1b
Figure out the Contract name and the action name
eosio - chain system contract
voteproducer - Action to vote for guilds
claimgbmvote - Action to claim vote rewards
claimgenesis - Action to claim from gbm tokens (deprecated soon)
2
create a custom permission for your account (tutorial above)
- eosio:updateauth
3
Link your permission to the vote and claim actions (tutorial above)
- eosio:linkauth
If you succeeded, you should see something similar to the below screenshot. We have created a custom permission called "vote" and added the authentication to execute the claimgbmvote, claimgenesis and voteproducer actions on the eosio smart contract.

Let's import the account to KEOSD
For using the WAX in the terminal, we have 2 programs. cleos, which is for executing actions to the wax blockchain. And then keosd, where you store and manage your wallet(s).
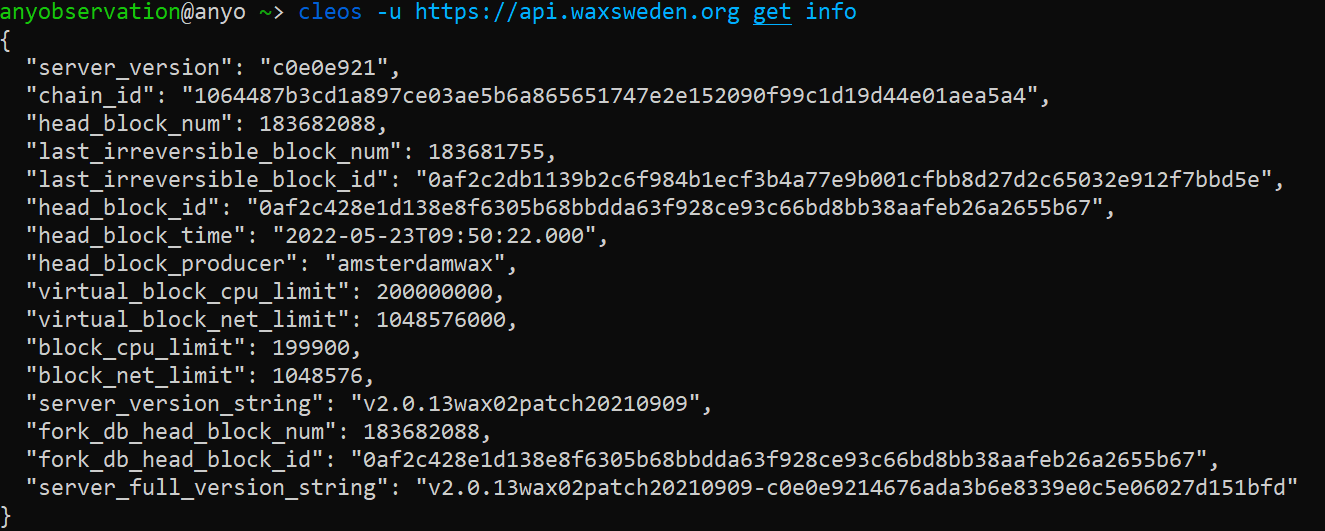
Let's start by interacting with the WAX blockchain, to test how it works.
$
cleos -u https://api.waxsweden.org get info
This should give you an output with the latest info on the WAX blockchain.

Creating a wallet with cleos/keosd and importing your key
You can have as many keys as you like inside one wallet, but it's best to use seperate wallets for different purposes, and lock them when not used. You can set up keosd to use any port you want, but we will use the default settings which automagically starts when you call it in cleos, making it one less thing for you to learn.
$
cleos wallet create -n claim --to-console
$
cleos wallet import -n claim
$
cleos wallet keys

Make sure you save the password that popped up in the terminal, this is required for you to open the encrypted wallet file. By default the wallet file is located in /home/<user>/eosio-wallet and will be called <wallet_name>.wallet.
Basic cleos knowledge - Voting and claiming
Your wallet will automagically lock after 15 minutes of inactivity, or by the wallet lock -n <wallet_name> command. Each time you want to push an action to the blockchain, you will need to specify the API endpoint, to make this easier let's just make a simple bash script called wax.sh.
$
nano wax.sh
#!/bin/bash
cleos -u https://api.waxsweden.org/ "$@"
You save by ctrl+s and exit the editor by ctrl+x.
Then we need to make the file executable:
$
chmod u+x wax.sh
We now created a simple bash program that directs to the chosen API, so instead of always writing cleos -u https://api.waxsweden.org/, we just do ./wax.sh. For more available API's, check here: eosnation validator
Now, we can open the wallet:
$
./wax.sh wallet unlock -n <wallet_name> --password <password>
swap the wallet_name with the name you used when creating it, above we used "claim" as the wallet name. and swap <password> with the password you got when creating the wallet.
First, to be able to claim vote rewards, you need to first vote for 16+ guilds, or through a proxy. I run the "waxcommunity" proxy, so if you trust my judgement in teams, you may use that. The command is rather simple, just swap the details with your information, you can see the example below.
$
./wax.sh system voteproducer proxy <your_account> <proxy> -p <your_account>@<permission>

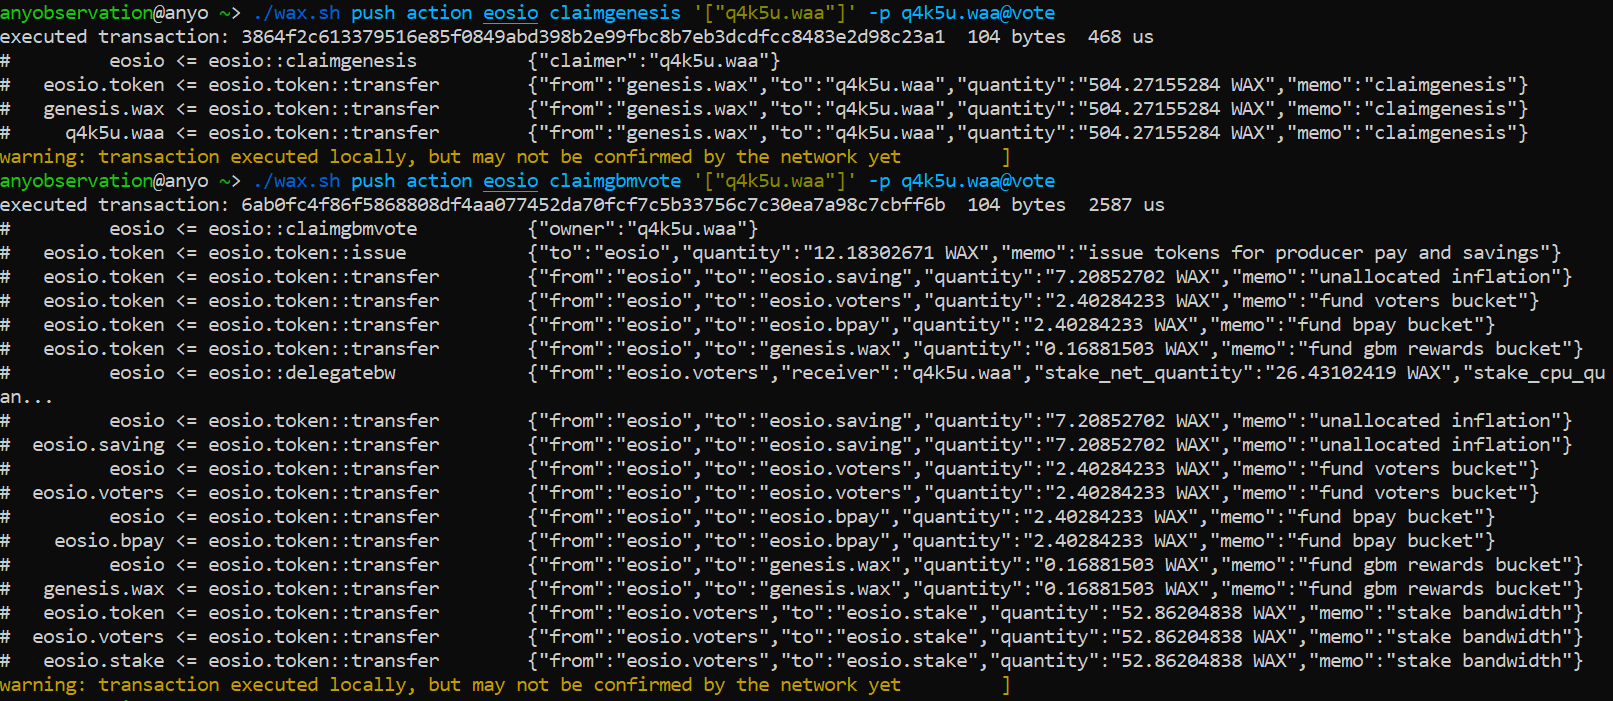
After 24 hours passed, we are able to claim rewards, this is something you can do daily, but you do not lose anything if you wait for a few days. Now, the claimgenesis reward is something that is only ongoing until July 2022, after that it will be deprecated. claimgbmvote is the reward you get for voting and participating in the governance of the WAX blockchain. You can read more about that here: Vote for guilds and get staking rewards
$
./wax.sh push action eosio claimgenesis '["<account_name>"]' -p <account_name>@permission
$
./wax.sh push action eosio claimgbmvote '["<account_name>"]' -p <account_name>@permission

Ok, Time to automate!
First thing to understand, you can do this smarter with more advanced scripts, but thats for another day. Now we will just present the basics for you to get started. When it comes to the vote and claim, we have a few things to understand.
1) We can claim every 86401 seconds (24h + 1 second)
2) We don't lose anything if we miss 1 day of claiming, it accumulates
3) Every 7 days, if you do not vote or stake any more WAXP, you will lose vote strength which reduces the amount of rewards you get.
This means, we want to claim every 1-7 days, if it's 1,2,3,4,5 or 6 days, doesn't matter. But if we wait 4 weeks between each claim, we will get a slight decrease in the rewards we get. You will get about 1-2% APY on your staked WAXP, it's not a crazy amount, but since staking WAXP is required to get CPU/NET, why not also get the extra WAXP?
Let's create the simple bash script
First, open a new file with nano, name it claim_rewards.sh. Add the code below, and then save it, and get the full path for the file, we need that for the next step.
Also, for this to work, you need to place it in the same folder as the wax.sh script.
#!/bin/bash
# Anything that starts with a # is a comment
# Except the first #!/bin/bash which tells the system to use bash
# Unlock the wallet
./wax.sh wallet unlock -n claim --password PW5JGasdasdasd
# Vote for waxcommunity proxy
./wax.sh system voteproducer proxy <proxy> -p anyo@claim
# Claim the rewards
./wax.sh push action eosio claimgbmvote '["anyo"]' -p anyo@claim
./wax.sh push action eosio claimrewards '["anyo"]' -p anyo@claim

realpath claim_rewards.sh

Now the script is created, but we can't execute it yet. We need to give the system permissions to do so. This is done by chmod.
$
chmod u+x claim_rewards.sh
Now the script is executable, you can manually run it by being in the same folder and writing: ./claim_rewards.sh
Which will now vote, and claim both by pushing 3 actions to the blockchain. For the system, it just executes one line at a time, which all will be done in the matter of a second or so, depending on how fast the API responds to your calls.
Now time to use crontab to automate it
crontab is basicly a software to run whatever you want and decided times or intervalls. Very basic, and super powerfull for automating things. First time you start it, you need to make a choice, just pick nano, you are already used to it by now.
Crontab basics
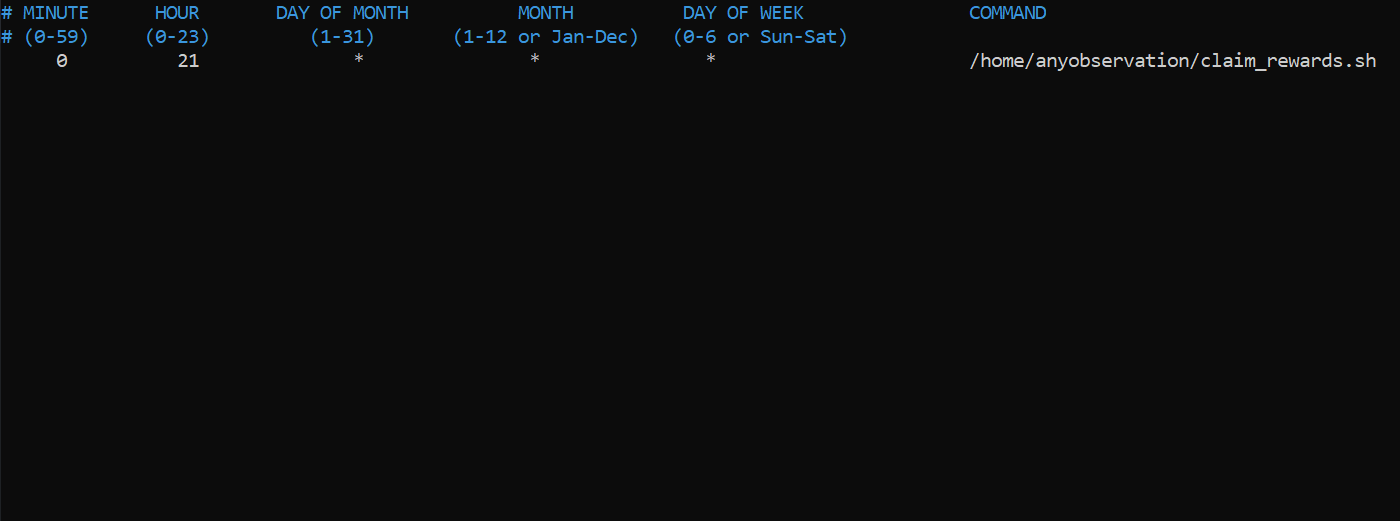
Each line will consist of 5 numbers or *. Each one represent when the program should run.
* * * * * what_to_do
In my crontab, I add explanation of what which number is, because it's easier to remember in the future. The space between each number is just created by hitting the "tab" key on the keyboard, or a few spaces. Doesn't matter if you add 1 or 10. It just makes it easier to read to do it properly. We will run the vote and claim every day, that means you will likely succeed with claim every 2 days, since it will run every 86400 seconds, but the claim action require 86401. Which is not a problem, since we have 7 days to succeed without losing any reward. And if the API fails for one or two days, it will claim the 3rd day.
# Minute | Hour | Date | Month | Day | Command
# *, Asterix means that it should always run
# * * * * * , means it should run every minute, hour, date, month etc...
# * 4 * * * , means it should run every minute and day at 4 o'clock
# 4 4 * * * , means it should run on minute 4, at 4 o'clock every day
# We need to know the full path to the script, we learnt that before.
4 4 * * * /home/anyobservation/claim_rewards.sh
$
crontab -e
- First time, you need to pick option of how to edit it, choose nano and go to next step.
Add the options for automation on a time interval of your choice, e.g. like above or below.

Now, save and exit by ctrl+s and ctrl+x.
Tadaaaaa! Like magic, it will now run 4 minutes past 4 am every day.
Now, every day you will vote for the proxy, this is not really required to do as often. You could seperate them and vote less frequently, which will reduce 1 push action and save you some CPU. You could also build in a check to count how many seconds passed since your last claim, and optimize this... but not really required for this action.
Summary
To script and interact with the WAX Blockchain through the terminal, or even automating actions, is rather simple. You just need to learn the few basics above using bash, crontab and cleos. You can make this as advanced as you like, or just keep it this basic and simple. The same thing can be done for other dapps, games etc, just remember that it might not be allowed in the TOS, and/or that some games hardcode the use of active key (stupid, but true).
Automating things with the active key, instead of a custom permission is possible, just import that key into the wallet instead of the custom one. Just remember that anyone that get access to the machine can easily find the script, password and thereby your private key, and do whatever they want. So if you want to do that, make sure you do it safely.
